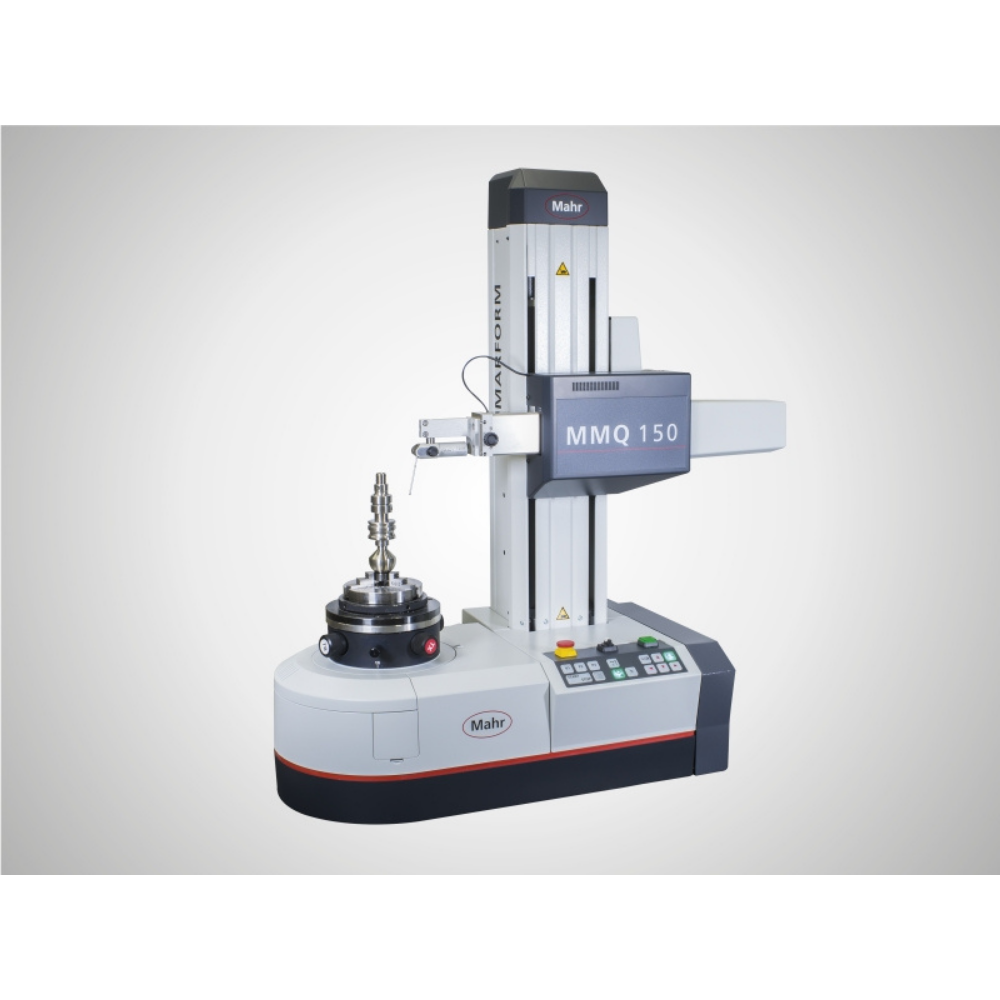
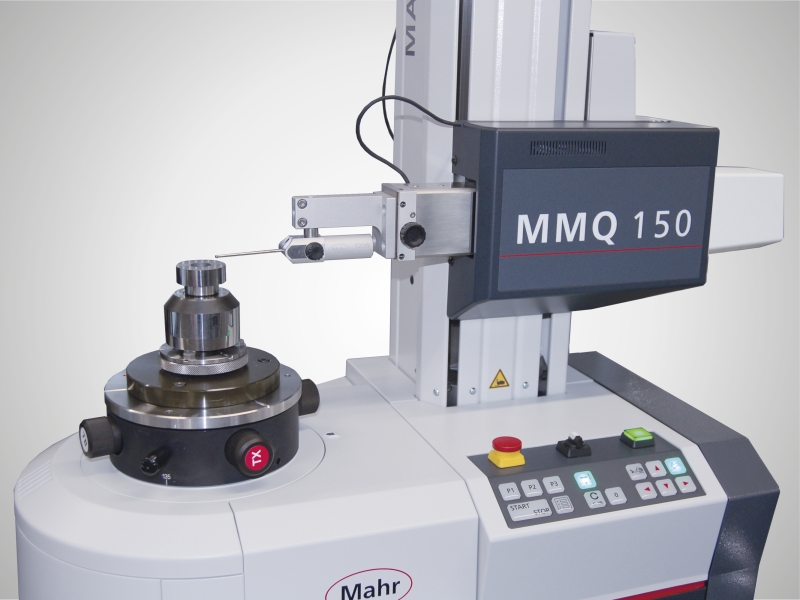
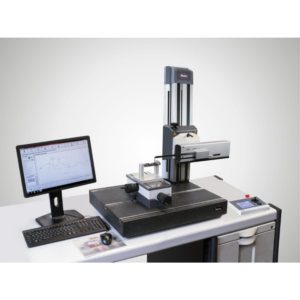
(EN) The MMQ 150 measuring station consists of the following components:
- MarForm MMQ 150 form tester
- T20W length measuring probe with probe arm
- EasyForm Software for measuring and operating
- MarWin PC, Windows 10 operating system
- 24″ monitor
Technical Data
|
Roundness deviation (µm+µm/mm measuring height) *
|
0,015 + 0,0003
|
|---|---|
|
Roundness deviation (µm+µm/mm measuring height) **
|
0,03 + 0,0006
|
|
Axial runout deviation (µm+µm/mm measuring radius) *
|
0.02 + 0.0001
|
|
Axial runout deviation (µm+µm/mm measuring radius) **
|
0.4 + 0.0006
|
|
Centering and tilting table
|
manual
|
|
Table diameter (mm)
|
160
|
|
Table load capacity, centered (N)
|
200
|
|
Speed (rpm) 50 Hz / 60 Hz
|
1-6
|
|
Measuring path, motorized Z (mm)
|
250
|
|
Straightness deviation / 100 mm measuring path (µm)**, Z axis
|
0.4
|
|
Straightness deviation / total measuring path (µm)**, Z axis
|
1
|
|
Parallelism deviation Z-/C axis in tracing direction, measuring path (µm)
|
1
|
|
Measuring speed (mm/s), Z axis
|
0.5-30
|
|
Positioning speed (mm/s), Z axis
|
0.5-50
|
|
Positioning path (mm), X axis
|
150, motorized
|
|
Positioning speed (mm/s), X axis
|
0.5-30
|
|
Footer text
|
* Values as maximum deviation from LSC reference circle, filter 15 undulations/revolution.
** All values in accordance with DIN ISO 1101 at 20°C ±1°C in a vibration-neutral environment, filter 15 undulations/revolution LSC or 2.5 mm LSS, 5 rpm or 5 mm/s and standard probe arm with ball diameter 3 mm. Proof at the standard using error separation techniques. Given the number of different options available, only a few machines are described here by way of example. Technical data for “your” MMQ is available from Mahr on request. |
